We like to form partnerships with local companies wherever possible, and London-based brand, Beryl, is our go-to for lights. The first of a two-part blog post, the team at Beryl gives the low-down on preparing for your commute as we head into the darker months - starting with your lights.
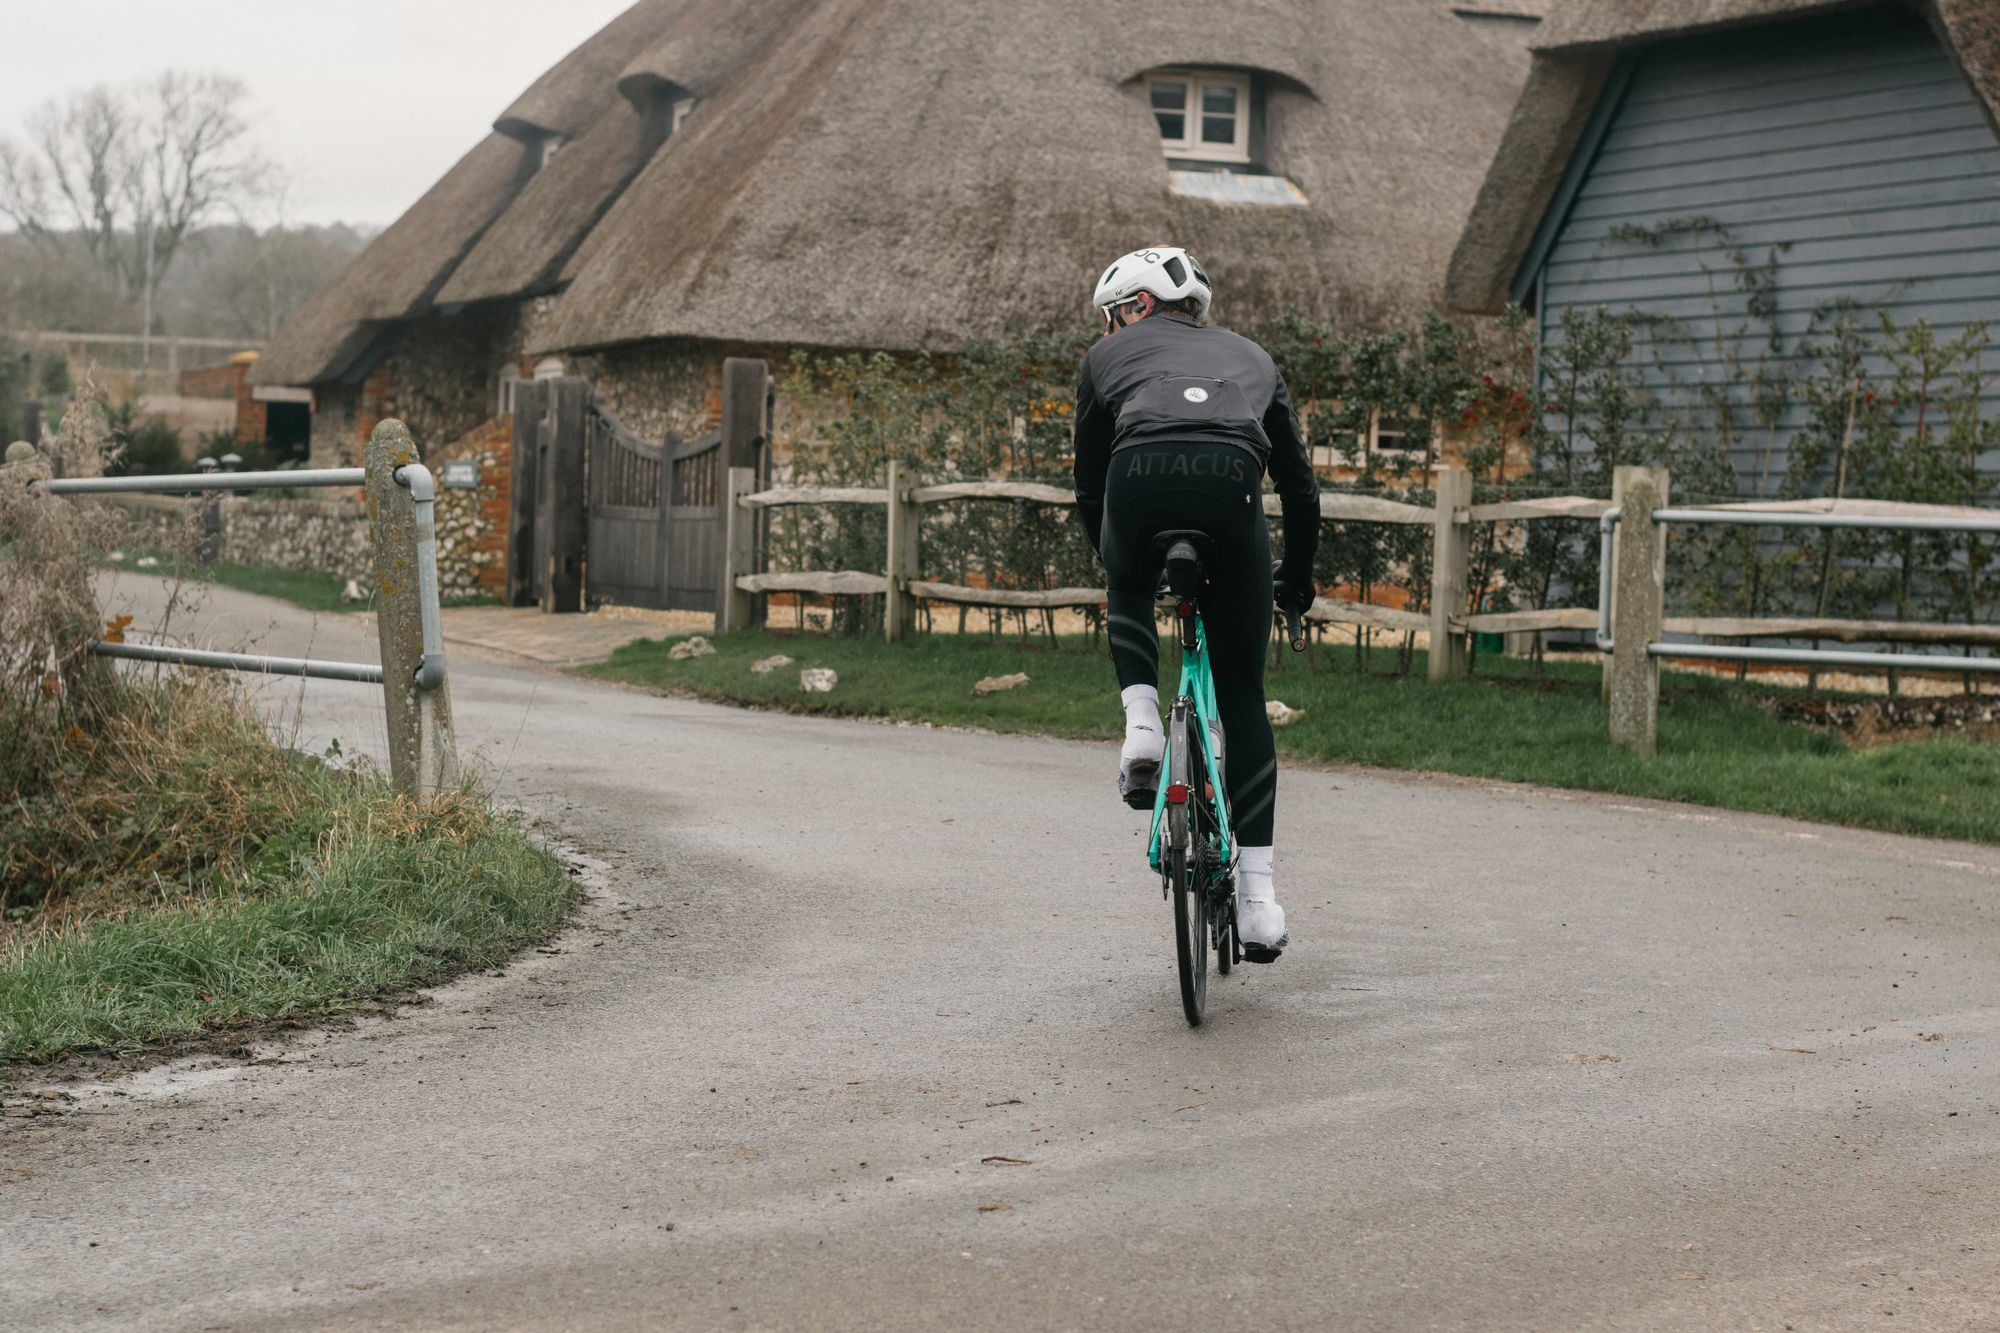
The Laka community is no-doubt a hardy bunch, intent on riding through the darker months of the year. While those rides can be bliss, heading down the quieter cycleways and enjoying the cooler temperatures, there are some considerations to take to ensure you are visible, comfortable and the safest you can be.

Lights at the ready
As we know, bike lights are a legal requirement for anyone cycling in the dark on the roads. That usually results in a mad dash when the clocks go back in October, trying to find those lights that you put in a ‘safe place’ back in the Spring. If they prove elusive, or simply no longer fit-for-purpose, the desperate online shopping begins.
But search for “bike lights” and you’ll be faced with hundreds of thousands of results, filtered by price, lumen count, weight, waterproofness and more. So how do you make sense of the different options available and when should you use different kinds of lights?

When to use different types of bike lights
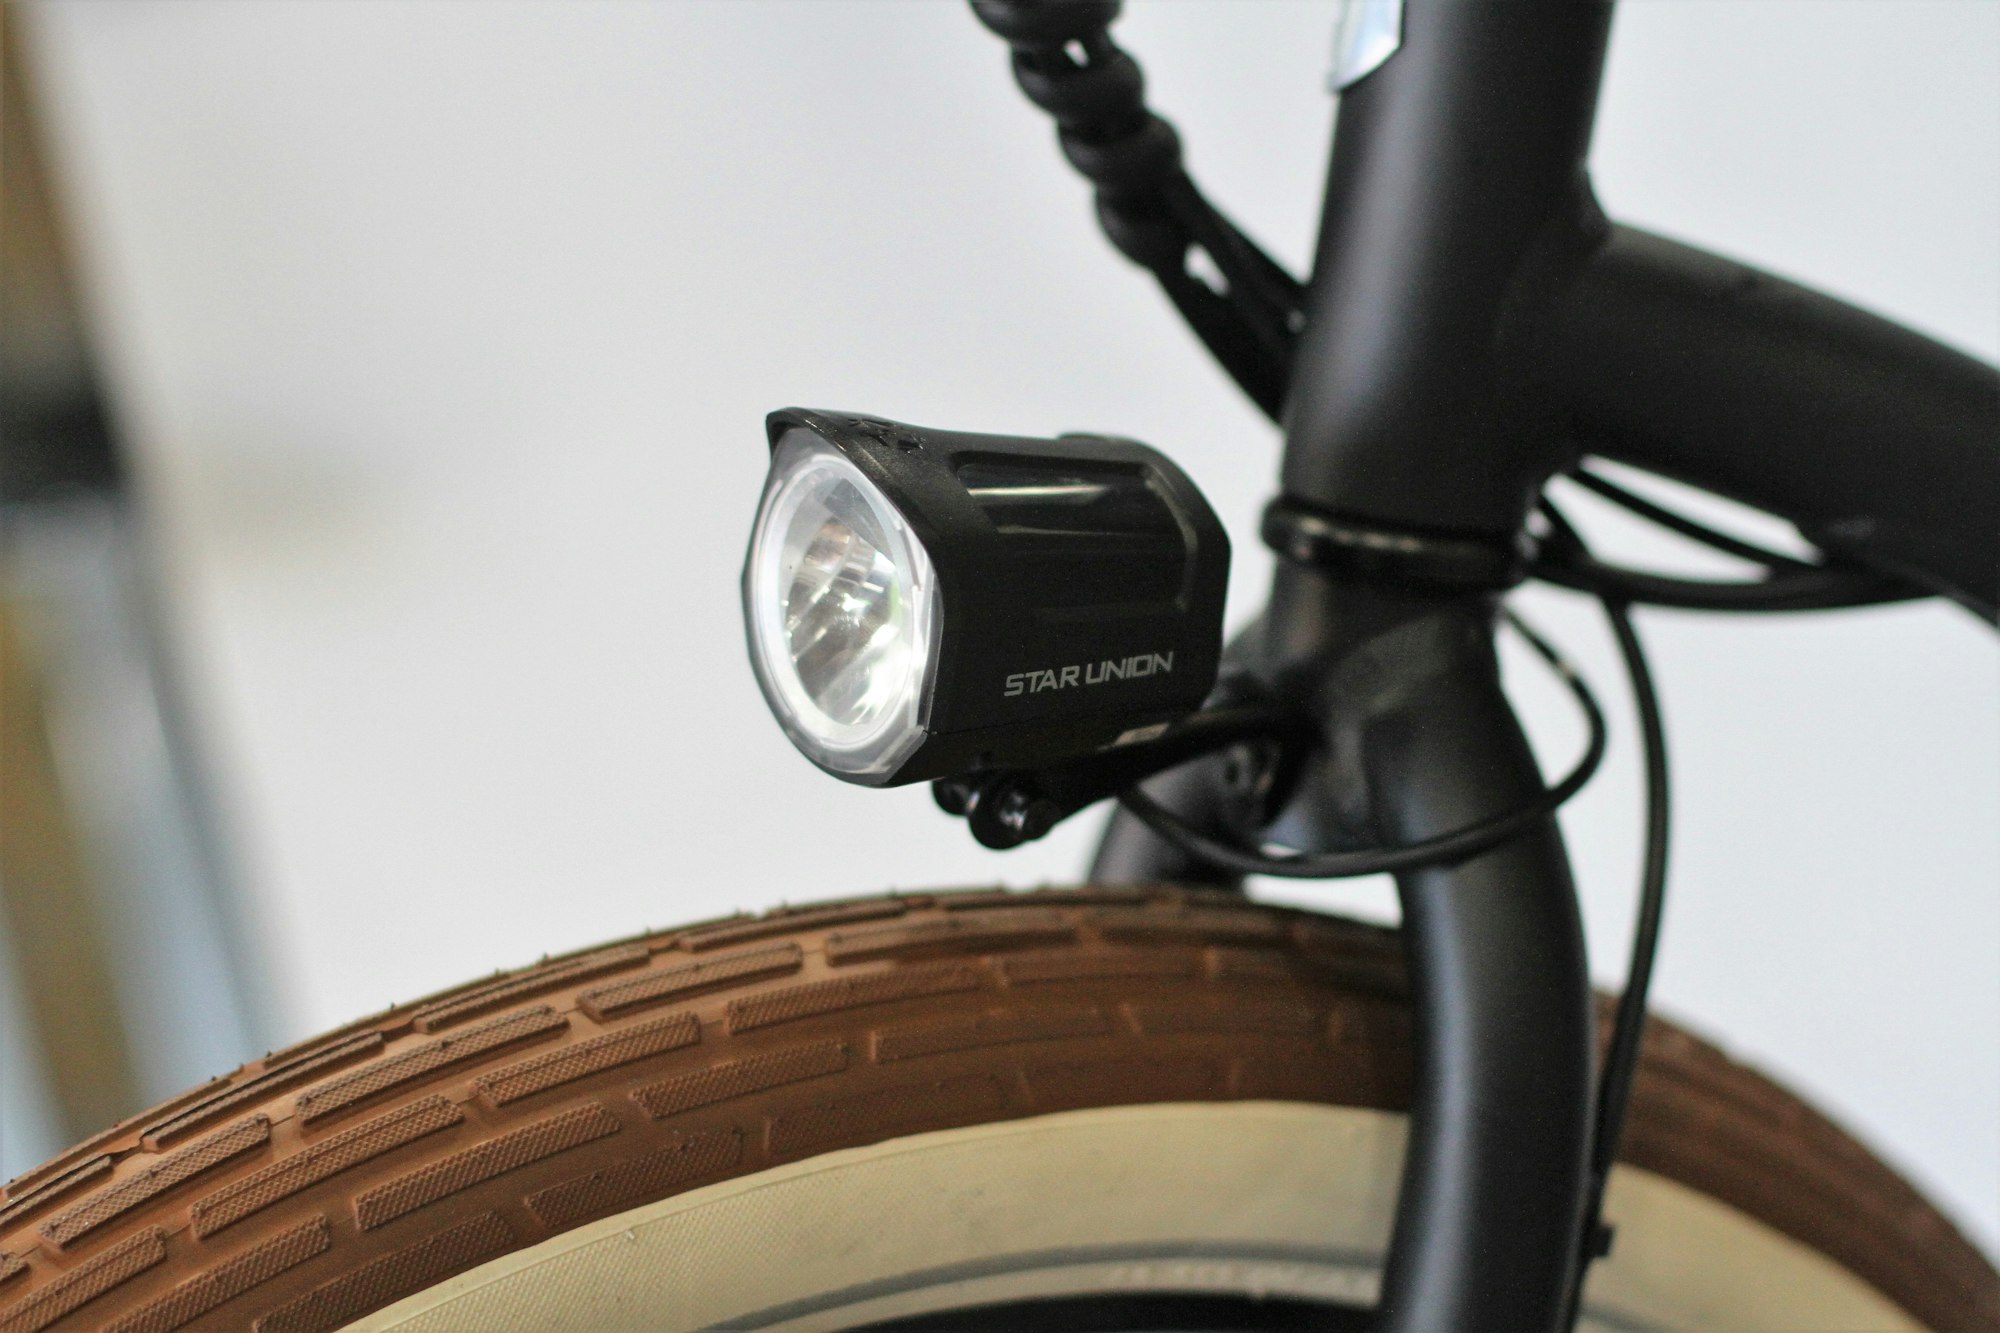
See lights
“See” lights (usually lights with 200+ lumens) do what they say on the tin; they allow you to see where you are going in the dark, even with no streetlights. If your ride takes you out of the town or city on unlit or poorly lit roads, you’ll need a strong, bright front light just to be able to see where you are going. You’ll want to pick up any potholes or debris on the road ahead with plenty of time to be able to react.
These lights will also make you visible to other road users, but the powerful light often comes with a compromise: they can be bigger and bulkier with shorter battery life. A poorly designed or poorly aimed/mounted light can also be so bright that it dazzles other road users. So it’s really important to make sure your lights are set up correctly to give you maximum visibility of the road ahead while not creating a danger to other road users.
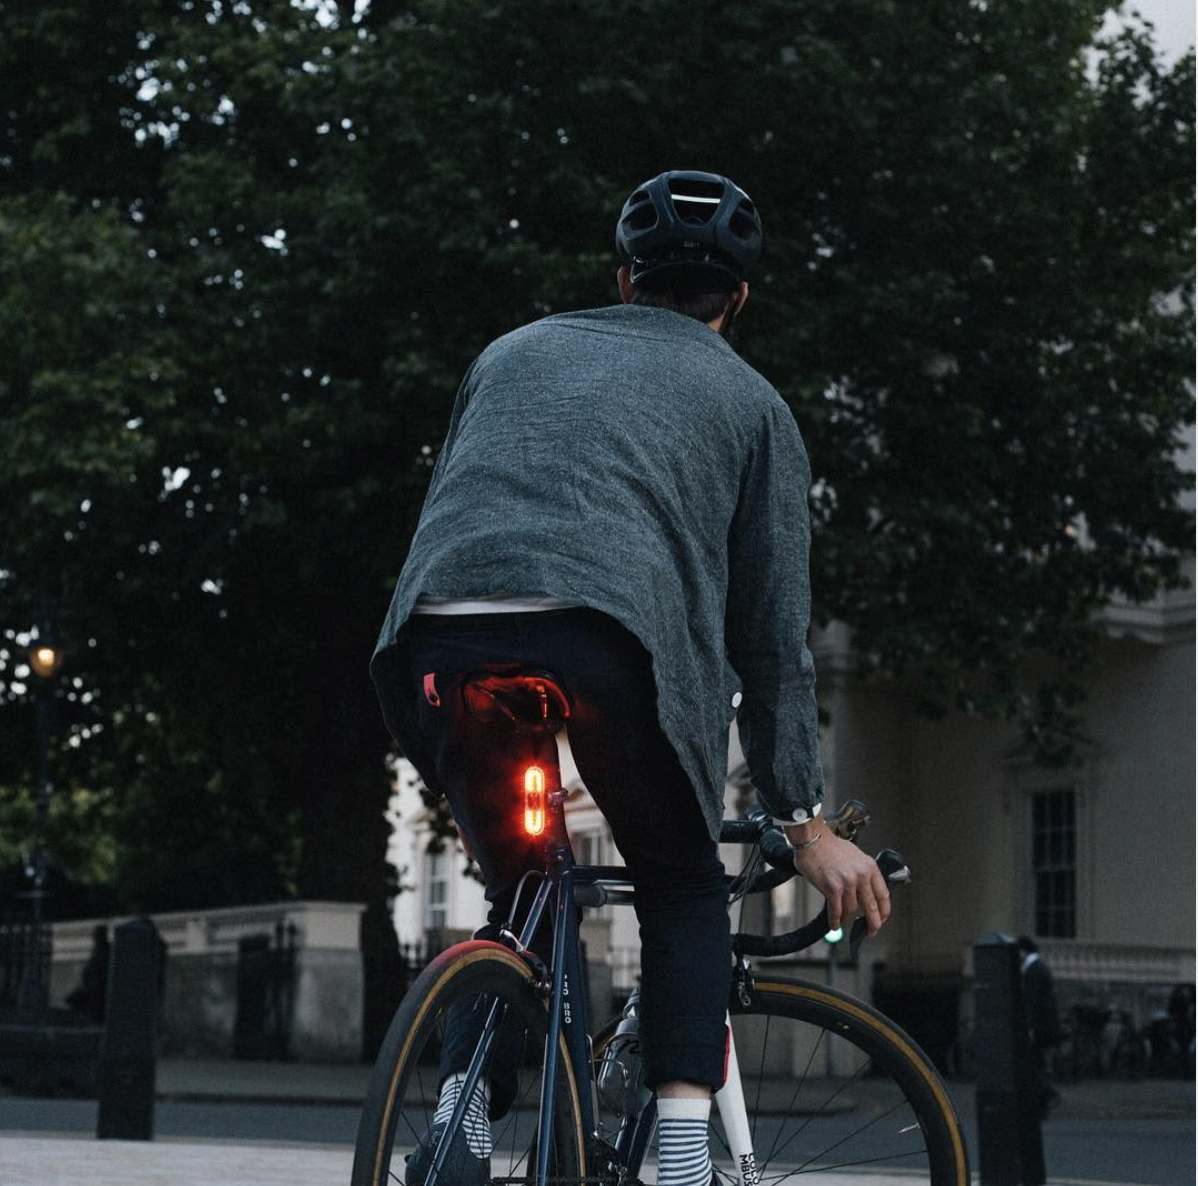
Be seen lights
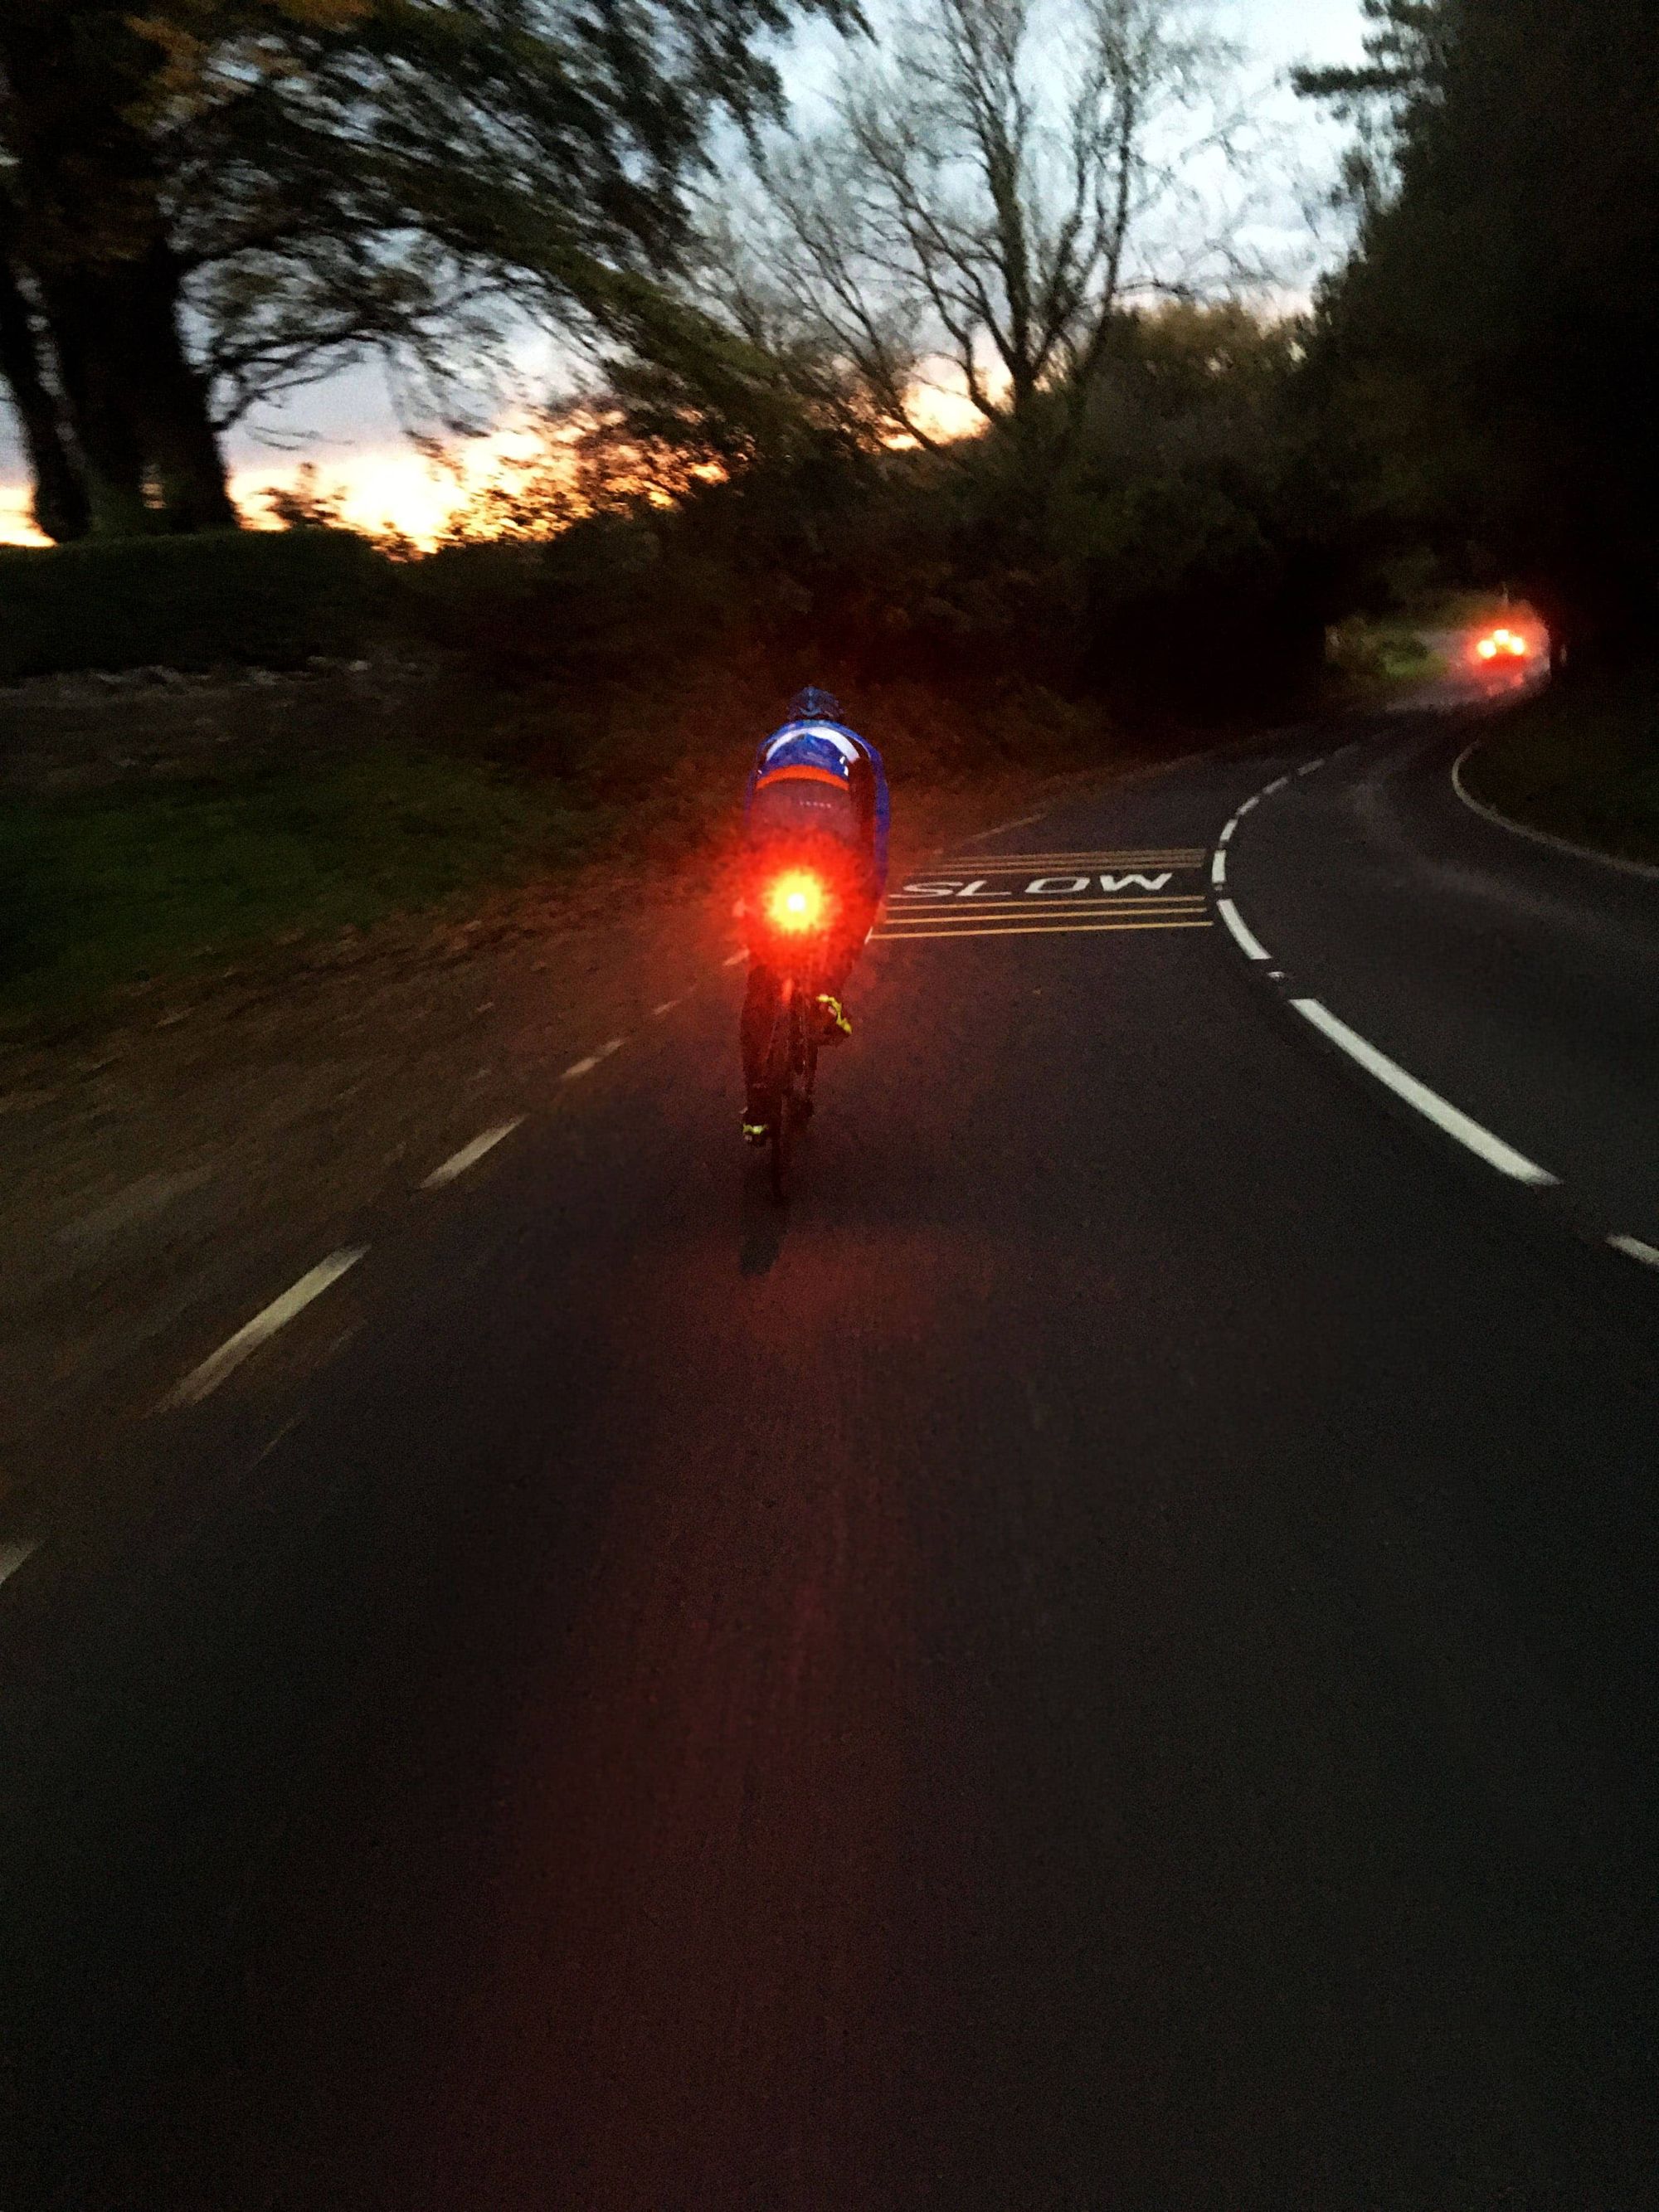
The purpose of “Be seen” lights is to make you visible to other road users. If you’re riding in the city, you’ll be able to see where you are from street lighting - so your lights’ primary function is to ensure others see you. Your lights must let you be seen from the front and from behind. You should ride with a white light on the front and a red light on the rear.
Since rear lights have the purpose of making you visible, they should have a diffused beam pattern.
Side lights
Side visibility is also important on your bike. In an urban setting, vehicles are coming from all different directions and you need to be seen side-on at junctions. It’s possible to buy side lights for your bike that clip to your frame. You can also find lights that attach to your wheel and light up as the tires turn. However, good front and rear lights will also offer visibility from the side. Look for 180 degree visibility on the packaging. For example, our Burner Brake has 180 degree visibility so you can be seen from the side.
Flashing lights
A flashing light on your bike is an increasingly popular option for “Be seen” lights. Different lights have different flashing patterns, but all work because the flash attracts the eye of other road users and makes you easier to spot. You can use a flashing light during daytime or nighttime. Some research shows that a flashing light makes it more difficult for drivers to judge how far you are away, meaning at nighttime it’s a good idea to combine a steady light with a secondary flashing light, for example on your bag or helmet.
Remember to check the legality of flashing lights in your country or territory - they aren’t allowed everywhere!
Laserlight
A laser light bike light uses a laser to project an image onto the road. The Beryl Laserlight is the original bike light with laser projection. The light combines a white front light and a green laser projection of a bike on the road ahead of the cyclist to shine out of the blind spot and give cyclists a bigger footprint on the road. The increase in visibility was verified by an independent report from the Transport Research Lab in London, before the Laserlights were fitted to the London Santander Cycle Scheme. Our new version, the Laserlight Core, combines the green laser projection with a flashing or solid white LED.
Helmet lights
A helmet light is a small, lightweight light such as the Beryl Pixel which clips to the front, top or back of your helmet. These lights provide a secondary point of visibility closer to a driver’s eye level and also help road users distinguish your head movements. At Beryl, we designed a light that fits within the profile of your helmet, rather than sticking out on top. The reason for this was to avoid any danger of a light piercing the helmet should you experience any impact. Although not a legal requirement, we recommend using a helmet light in addition to the main lights attached to your bike due to the safety benefit it brings.
Day time lights
Most people know that they need bike lights at night when it’s dark, but did you know that using a light during the day can also improve your visibility?
Well-established light brand, Bontrager, published a white paper defining the features that make a day-time light effective; it needs to have focused optics, a flash pattern (not steady), and be visible from at least 400m during daylight. They claim that daytime lights in flash mode can make you up to 2.4x more visible than with no lights at all, and 1.4x more visible than in steady mode.
The knowledge that flash patterns during the day increase visibility sparked the birth of the “Day Flash mode”; A day flash mode is brighter than flashing mode designed for nighttime use, since the contrast needs to be greater to be effective. The flashing pattern is also different - instead of a HIGH-LOW-HIGH sequence, the light uses ON-OFF-ON.
A light with Day flash mode, such as the Beryl Laserlight Core or Burner Brake, uses a very bright flash to catch the eye of drivers who might have missed you.
When to use different types of bike lights
- “See” lights - when you need to see where you are going
- “Be seen” lights in urban settings where you need to be visible
- Side-lights - to give you 360-degree visibility
- Flashing lights - in the daytime or at nighttime in combination with steady lights
- Laserlight - in urban settings to eliminate the blindspot
- Helmet lights - whenever you need extra visibility at the driver’s eye level
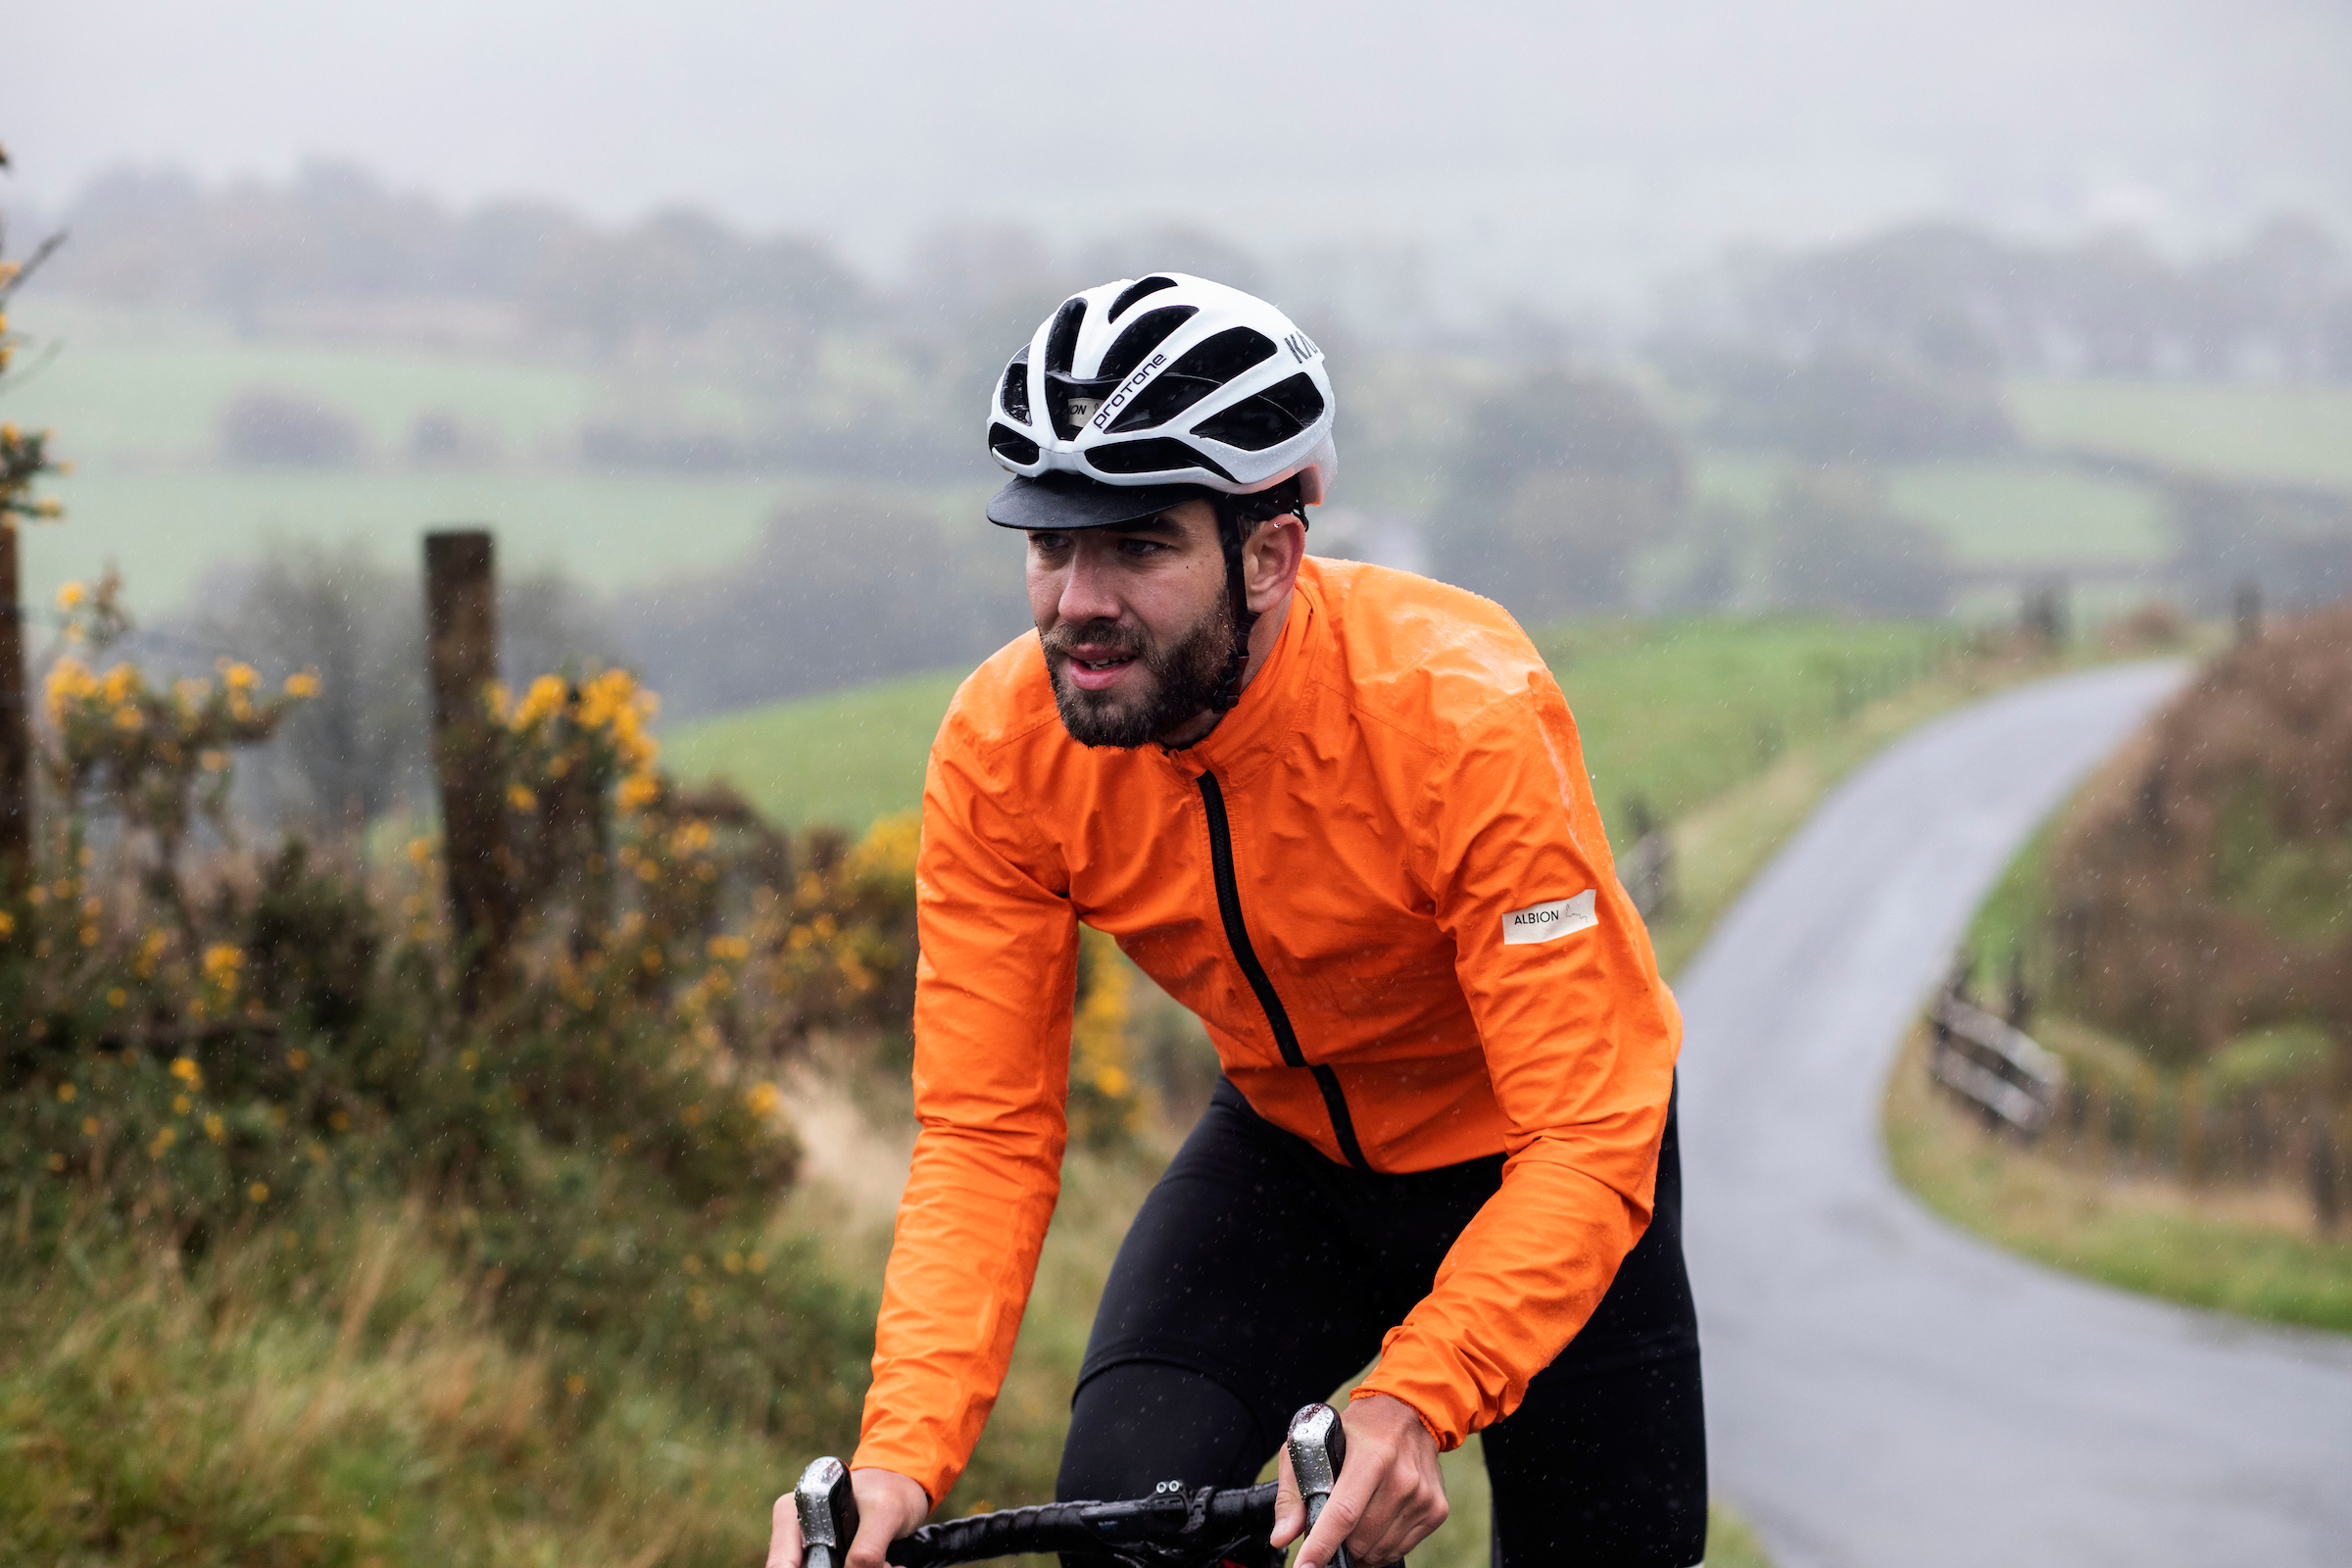
Stay tuned for Beryl's second instalment, where they cover how to stay warm and dry on your commute; coming soon!
Bicycle insurance that's fair, not fixed
For extra peace of mind, when hitting the roads, at home or abroad, check out our specialist bicycle insurance.